While the traditional Spanakopita is a large pie, these bite-sized triangles offer convenience and elegance. They are perfect for entertaining guests, bringing to your table the authentic flavours of Greece in a fun and easy-to-serve form.
The secret to these delectable triangles lies in the delicate balance of textures and flavours. The phyllo dough, thin and flaky, provides a delightful contrast to the creamy filling. The spinach, wilted and seasoned to perfection, adds earthiness, while the feta cheese lends its signature salty tang. A sprinkle of herbs like dill and parsley infuses the dish with a refreshing aroma.
But don’t just take my word for it.

Spanakopita Triangles With Ricotta and Feta
Ingredients
- 4 ounces of melted butter
- 1 large diced onion
- 1 bunch of finely chopped fresh dill
- 1 bunch of chopped scallions
- 1 bag of cleaned and stemmed spinach
- 12 ounces of crumbled Feta cheese
- 4 ounces of chopped garlic
- 1 box of completely defrosted Phyllo dough
- 2 eggs
- 4 ounces of grated Parmesan cheese
- Olive oil
- Salt and pepper to taste
Instructions
- Grab a big saucepan and toss in about 2-3 ounces of olive oil. Heat it up over medium heat – not too high, not too low.
- Drop in the onions and garlic. Give 'em a good sauté for 2-3 minutes. You know, just until they start smelling amazing.
- Toss in the spinach and let it cook down completely. It's gonna take around 3 minutes – just enough time to cue up your favorite cooking playlist.
- Now, throw in the dill and scallions. Mix it all together and then take it off the heat. Let it chill – literally. We want it completely cool.
- In a separate bowl, let's get that cheesy party started. Mix up the Feta and Parmesan with the eggs. They're gonna be the best of friends.
- Bring the cheesy crew into the cooled spinach mix. Give it a little sprinkle of salt and pepper.
- Time to play with the dough! Lay one sheet down, brush on a bit of melted butter. Add another sheet, more butter. One more on top, repeat the buttery love. Don't drown it, though.
- Slice that buttery stack into four long strips vertically. It's like making doughy magic wands.
- Scoop a bit of the mixture onto the bottom of each strip, then start folding them into cute little triangle pockets. Need a visual? Check out the video – it's like origami but tastier.
- Line those beauties up on a baking sheet, giving them some space to shine. A little more butter on top for good measure. Pop 'em in the oven at 350 degrees for 25 minutes. Trust me, the aroma is gonna drive you nuts.
- nce they're done, let those triangles cool off for at least 10 minutes. It's torture, I know, but it's worth the wait. Then, dive in and enjoy your crispy, cheesy creations.
Video
Notes
- Phyllo dough can be delicate, so handle it gently to avoid tearing. Work efficiently, and cover unused sheets with a damp kitchen towel to prevent drying out.
- Ensure the spinach mixture is completely cooled before combining it with the cheese mixture. This helps maintain the texture and prevents the eggs from scrambling when mixed.
- When brushing the Phyllo dough with melted butter, aim for a light and even application. Too much butter can make the triangles overly greasy, while too little may result in a dry texture.
- Follow the recommended folding technique, whether described in the recipe or shown in the video tutorial. Consistency in folding ensures even baking and a uniform presentation.
- Keep an eye on the triangles during baking. Oven temperatures can vary, so they should be golden brown after about 25 minutes. Adjust the time if needed, and consider rotating the baking sheet for even browning.
- While it’s tempting to dive into the delicious triangles immediately, allowing them to cool for at least 10 minutes ensures they are set properly, making them easier to handle and enjoy.
- Feel free to get creative with the filling. Add ingredients like sun-dried tomatoes, pine nuts, or different herbs to personalize the flavour.
- You can prepare the filling and even assemble the triangles ahead of time, storing them in the refrigerator until ready to bake. This is convenient for entertaining or busy schedules.
What Can I Have With Spanakopita Triangles
It tastes good, but you can still get the best out of it.
1. Tzatziki Sauce
Enhance the Mediterranean experience by serving Spanakopita triangles with a side of tzatziki sauce. The cool, creamy texture of tzatziki complements the crispy triangles, creating a refreshing and tangy contrast.
2. Greek Salad
Create a well-rounded meal by pairing Spanakopita triangles with a classic Greek salad. The combination of crisp lettuce, juicy tomatoes, olives, and feta cheese adds a fresh and vibrant element to the richness of the triangles.
3. Hummus and Pita
For a Middle Eastern twist, serve Spanakopita triangles alongside hummus and warm pita bread. The creamy hummus provides a smooth and nutty contrast, while the pita adds a soft, comforting element to the ensemble.
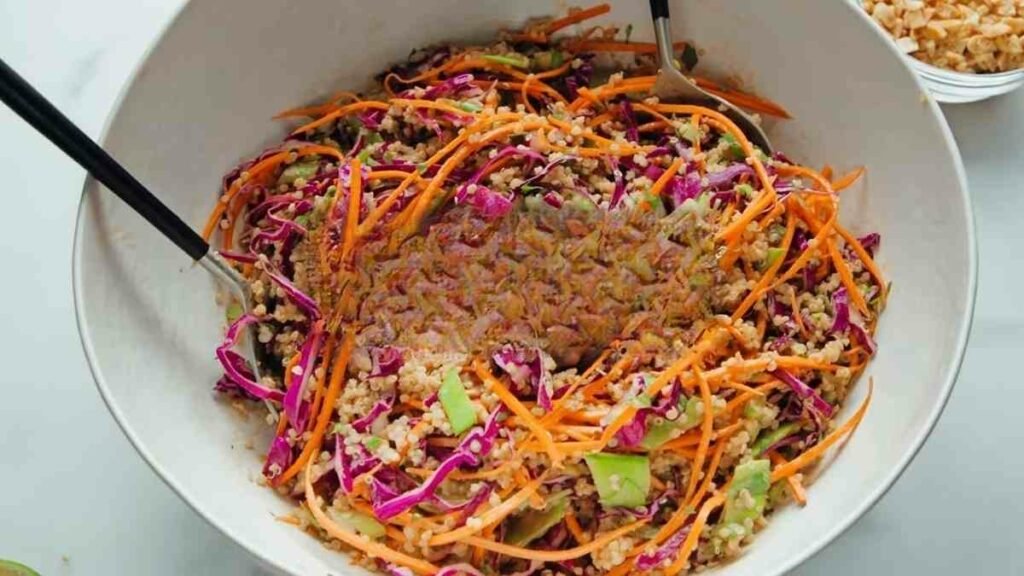
4. Mediterranean Quinoa Salad
Introduce a wholesome touch by pairing Spanakopita with a Mediterranean quinoa salad. The hearty quinoa, combined with cucumber, cherry tomatoes, and Kalamata olives, adds nutritional value and a delightful medley of textures.
5. Roasted Vegetables
For a rustic and hearty option, accompany your Spanakopita triangles with a medley of roasted vegetables. The caramelized flavours of roasted bell peppers, zucchini, and eggplant provide a satisfying balance to the triangles’ richness.
6. Lemon Wedges
Brighten up the palate by serving Spanakopita triangles with lemon wedges. The citrusy notes cut through the richness of the dish, offering a zesty and uplifting contrast.
7. Rice Pilaf
Create a complete meal by serving Spanak
Refresh your palate with a cup of mint tea. The herbal, soothing qualities of mint tea provide a perfect conclusion to a meal featuring Spanakopita triangles.
How Do I Prevent Phyllo Dough From Drying Out During Assembly?
Preventing Phyllo dough from drying out during assembly is crucial for achieving that delightful flakiness in your Spanakopita triangles.
Here are some essential tips to keep your Phyllo dough in its prime condition:
1. Covering with a Damp Cloth
One of the most effective ways to prevent Phyllo dough from drying out is to cover it with a damp kitchen towel. As you work with individual sheets, immediately cover the unused ones with a damp cloth.
This helps maintain the moisture content in the dough, preventing it from becoming brittle and difficult to handle.
2. Work Quickly and Efficiently
Phyllo dough can dry out rapidly, so it’s essential to work swiftly and efficiently. Plan your assembly process, ensuring you have all the ingredients and tools ready. This minimizes the time the dough is exposed to air.
3. Keep the Dough Tightly Sealed
Once you’ve opened the Phyllo dough package, make sure to reseal it tightly when not in use. Exposure to air is a primary factor in drying out Phyllo dough, so keeping it well-sealed slows down the drying process.
4. Brushing with Melted Butter
Each layer of Phyllo dough should be lightly brushed with melted butter. Aside from adding flavour, the butter acts as a barrier, helping to lock in moisture and maintain the dough’s pliability.
5. Use Plastic Wrap
In addition to the damp cloth, consider placing a sheet of plastic wrap directly on the layers of Phyllo dough. This extra layer provides an additional shield against air exposure.
Are Spanakopita Healthy?
Spanakopita can be a relatively healthy dish, depending on the ingredients and portion sizes. Here’s an overview of the nutritional aspects:
1. Rich in Vegetables
Spanakopita’s filling typically includes spinach, onions, and garlic. Spinach, in particular, is a nutrient powerhouse, offering vitamins A and K, folate, and iron. These vegetables contribute to a diet rich in essential nutrients and antioxidants.
2. Protein from Cheese and Eggs
The Feta cheese and eggs in the filling provide a protein boost. Protein is essential for muscle maintenance, immune function, and overall satiety. While Feta is flavorful, it’s advisable to use it in moderation due to its salt content.
3. Phyllo Dough Considerations
The use of Phyllo dough, though deliciously crispy, does introduce additional calories and carbohydrates. However, it’s generally low in saturated fat. Opting for whole wheat Phyllo dough or using fewer layers can increase fibre content.
4. Healthy Fats
Olive oil, often used in the recipe, is a source of heart-healthy monounsaturated fats. These fats can contribute to improved cholesterol levels and cardiovascular health.
Brushing the Phyllo layers with olive oil instead of butter can enhance the dish’s health profile.
5. Portion Control
Like many dishes, moderation is key. Spanakopita is rich and flavorful, allowing for satisfying smaller portions. Pairing it with a variety of colourful salads or vegetable sides can further enhance the overall nutritional value of the meal.
6. Homemade vs. Store-Bought
Making Spanakopita at home allows for better control over ingredients and portion sizes. Store-bought versions may contain higher levels of salt, preservatives, or less wholesome ingredients.
Do You Eat Spanakopita Hot Or Cold?
Spanakopita is traditionally enjoyed both hot and cold, offering versatility in serving options. When freshly baked, Spanakopita triangles boast a crispy, golden exterior with a warm, flavorful filling. Many enthusiasts eat them right out of the oven when the layers of Phyllo dough are at their crispiest.
Alternatively, Spanakopita is equally delicious when served cold or at room temperature. As the triangles cool, the flavours meld, and the texture becomes more settled, creating a delightful contrast to the warm version. This makes Spanakopita an excellent choice for gatherings, picnics, or potlucks, where the dish can be prepared in advance and enjoyed without the need for reheating.


