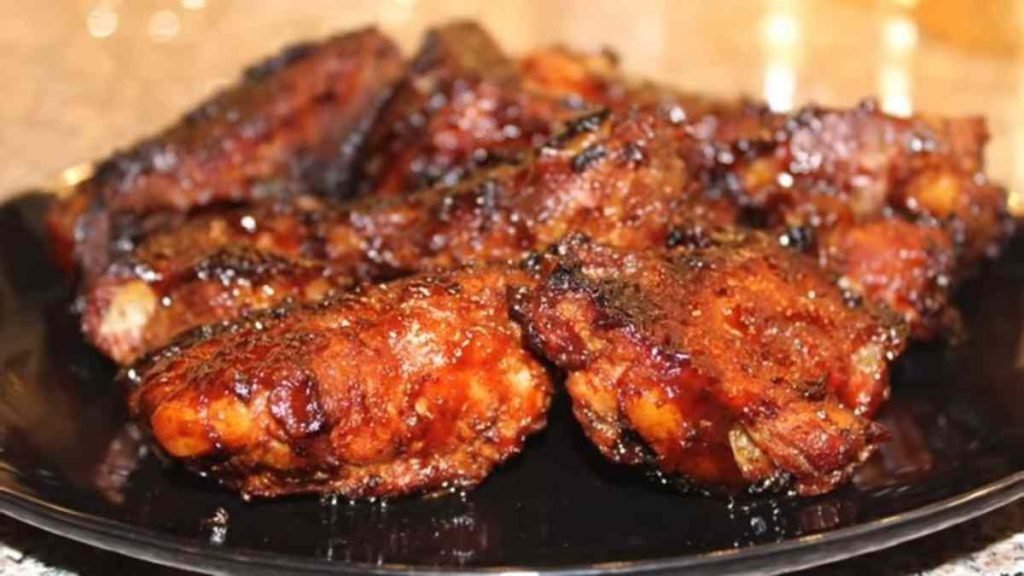
Looking for a delicious and hassle-free dish that will leave your guests craving for more? Look no further than these irresistible Air Fryer Croquettes.Originating from the delectable culinary traditions of Europe, croquettes have evolved into a beloved snack enjoyed worldwide. Now, with the magic of air frying, you can enjoy the same crispy goodness with a healthier twist.
Imagine biting into a golden-brown exterior that gives way to a creamy, flavorful filling bursting with savory goodness. That’s the magic of these Air Fryer Croquettes! Whether you’re hosting a party, planning a family gathering, or simply looking for a quick and satisfying meal, these croquettes are the perfect addition to any occasion.
What sets these croquettes apart is their unique selling point: they’re incredibly easy and quick to prepare. With the help of an air fryer, you can achieve that coveted crispy texture without the need for excessive oil. In the following recipe, we’ll guide you step by step to create these delectable croquettes using your trusty air fryer.
Essential Ingredients for Your Air Fryer Croquettes
- Potatoes: Provides the base for the croquettes, giving them a creamy texture.
- Onion: Adds savory flavor and enhances the overall taste.
- Garlic: Adds a delightful aroma and depth of flavor.
- Cooked chicken or ham: Provides protein and a savory element. You can choose whichever meat you prefer or use vegetarian alternatives.
- Bread crumbs: Gives the croquettes a crispy coating.
- Egg: Binds the ingredients together, helping the croquettes maintain their shape.
- Flour: Helps with the coating process and adds an extra layer of crispness.
- Salt and pepper: Enhances the overall flavor.
Essential Equipments for Your Air Fryer Croquettes
- Air fryer: Used for cooking the croquettes to perfection.
- Mixing bowls: Used for combining the ingredients.
- Fork or potato masher: Used to mash the potatoes.
- Measuring cups and spoons: Used for accurate ingredient measurements.
- Baking sheet: Used to hold the coated croquettes before air frying.
Instructions
Step 1: Prepare the ingredients
Peel and boil the potatoes until they are fork-tender. Drain the potatoes and transfer them to a mixing bowl. Mash them using a fork or potato masher until they are smooth and creamy.
In a separate pan, sauté the chopped onion and minced garlic until they are softened and fragrant. Add the cooked chicken or ham and continue cooking for a few minutes to incorporate the flavors. Remove from heat and set aside.
Step 2: Combine the ingredients
Add the sautéed onion, garlic, and meat mixture to the mashed potatoes. Season with salt and pepper to taste. Mix well until all the ingredients are evenly combined.
Step 3: Shape the croquettes
Take a spoonful of the mixture and shape it into a croquette. Repeat this process until all the mixture is used, placing each croquette on a baking sheet.
Step 4: Coat the croquettes
Prepare two shallow dishes. In one dish, place the flour, and in the other dish, place the bread crumbs. Beat the egg in a separate bowl. Take each croquette and coat it in flour, then dip it in the beaten egg, and finally roll it in the bread crumbs until it is fully coated. Place the coated croquettes back on the baking sheet.
Step 5: Air fry the croquettes
Preheat your air fryer to the recommended temperature. Place the coated croquettes in the air fryer basket in a single layer, ensuring they are not overcrowded. Cook the croquettes in the air fryer for about 12-15 minutes, or until they are golden brown and crispy. Flip them halfway through to ensure even cooking.
Step 6: Serve and enjoy
Once the croquettes are cooked to perfection, remove them from the air fryer and let them cool slightly. Serve them hot as a snack or appetizer, accompanied by your favorite dipping sauces like ketchup, mayonnaise, or spicy aioli.
Tips and Tricks To Know
- Customize the filling: Feel free to experiment with different fillings like cheese, vegetables, or seafood to create a variety of flavors.
- Add herbs and spices: Enhance the taste of your croquettes by adding herbs like parsley, thyme, or chives, or spices like paprika or cayenne pepper.
- Use cooking spray: Before placing the coated croquettes in the air fryer, lightly spray them with cooking spray. This will help them achieve an even crispiness and prevent sticking.
- Preheat the air fryer: It’s essential to preheat your air fryer before cooking the croquettes. This ensures that they cook evenly and develop a crispy exterior.
- Don’t overcrowd the air fryer basket: To ensure proper air circulation and even cooking, make sure not to overcrowd the air fryer basket. Cook the croquettes in batches if necessary.
- Flip halfway through cooking: To achieve an even browning and crispiness on all sides, flip the croquettes halfway through the cooking process. This will help them cook evenly and result in a uniformly crispy texture.
- Serve immediately: Air fryer croquettes are best enjoyed when served immediately after cooking. The crispy exterior tends to soften over time, so it’s recommended to serve them hot for the ultimate texture and flavor.
Serving Suggestions
- Serve as an appetizer: Air fryer croquettes make a fantastic appetizer for parties, gatherings, or game nights. Arrange them on a platter with a variety of dipping sauces for guests to enjoy.
- Pair with a salad: For a light and satisfying meal, serve the croquettes alongside a fresh green salad or a medley of roasted vegetables. The crispiness of the croquettes will complement the refreshing flavors of the salad.
- Create a croquette sandwich: Take your croquettes to the next level by using them as a filling for a sandwich. Place them on a bun or bread of your choice, and add your favorite condiments, lettuce, and tomatoes for a delightful meal.
- Make a croquette bowl: Transform your croquettes into a wholesome bowl by serving them over a bed of rice or quinoa. Top with steamed vegetables, a drizzle of sauce, and some fresh herbs for a satisfying and flavorful meal.
Storage and Reheating
To store any leftover croquettes, allow them to cool completely and place them in an airtight container. Refrigerate for up to 3-4 days. When ready to enjoy again, preheat your air fryer and reheat the croquettes for a few minutes until they are heated through and regain their crispiness.
Note: The texture of reheated croquettes may not be as crispy as when freshly cooked, but they will still be delicious.
Frequently Asked Questions
Can I make these croquettes vegetarian?
Yes you can. Simply omit the meat and add more vegetables or use vegetarian alternatives.
How can I make the croquettes gluten-free?
Substitute gluten-free breadcrumbs and use a gluten-free flour blend in the recipe.
Can I use leftover mashed potatoes for this recipe?
Leftover mashed potatoes work perfectly for making these croquettes.
What dipping sauces go well with these croquettes?
Popular choices include garlic aioli, barbecue sauce, sriracha mayo, or even a tangy yogurt-based dip.
How do I prevent the croquettes from falling apart?
Make sure to thoroughly mix and bind the ingredients together, and be gentle when shaping the croquettes. Chilling the mixture before shaping can also help.

Air Fryer Croquettes
Equipment
- Air fryer
- Mixing bowls
- Fork or potato masher
- Measuring cups and spoons
- Baking sheet
Ingredients
- Potatoes
- Onion
- Garlic
- Cooked chicken or ham
- Bread crumbs
- Eggs
- Flour
- Salt
- Pepper
Instructions
- Prepare the ingredients by peeling and boiling the potatoes until fork-tender. Drain and transfer them to a mixing bowl. Mash them until smooth and creamy.
- In a separate pan, sauté the chopped onion and minced garlic until softened and fragrant. Add the cooked chicken or ham and cook for a few minutes. Remove from heat and set aside.
- Combine the sautéed onion, garlic, and meat mixture with the mashed potatoes. Season with salt and pepper, and mix well.
- Shape the croquettes by taking spoonfuls of the mixture and forming them into croquette shapes. Place them on a baking sheet.
- Prepare two shallow dishes: one with flour and another with bread crumbs. Beat the eggs in a separate bowl. Coat each croquette in flour, dip it in the beaten eggs, and then roll it in the bread crumbs until fully coated. Place the coated croquettes back on the baking sheet.
- Preheat the air fryer to 400°F (200°C) and place the coated croquettes in a single layer in the air fryer basket. Cook for 12-15 minutes, or until golden brown and crispy. Flip them halfway through for even cooking.
- Once cooked, remove the croquettes from the air fryer and let them cool slightly. Serve hot with your favorite dipping sauces.
Notes
- Customize the filling by experimenting with different ingredients like cheese, vegetables, or seafood.
- Add herbs and spices like parsley, thyme, paprika, or cayenne pepper to enhance the flavor.
- Lightly spray the coated croquettes with cooking spray before air frying to achieve an even crispiness.
- Preheat the air fryer before cooking the croquettes for even cooking and a crispy exterior.
- Avoid overcrowding the air fryer basket to ensure proper air circulation.
- Flip the croquettes halfway through cooking for even browning and crispiness.
- Serve the croquettes immediately for the best texture and flavor.
Conclusion
Now that you have all the information you need to create these mouthwatering Air Fryer Croquettes, it’s time to roll up your sleeves and get cooking! We hope you enjoy the process of making these crispy delights and that they become a hit at your next gathering or simply for a delicious snack.
We would love to hear about your experience with the recipe. Did you add your own twist to the filling? Which dipping sauce was your favorite? Leave us a comment below and share your thoughts! Don’t forget to share this recipe with your friends and family on social media, so they can enjoy it too.
For more tasty recipes and culinary inspiration, be sure to subscribe to our newsletter or follow our blog. We’ll keep bringing you exciting dishes that are both delicious and easy to prepare.